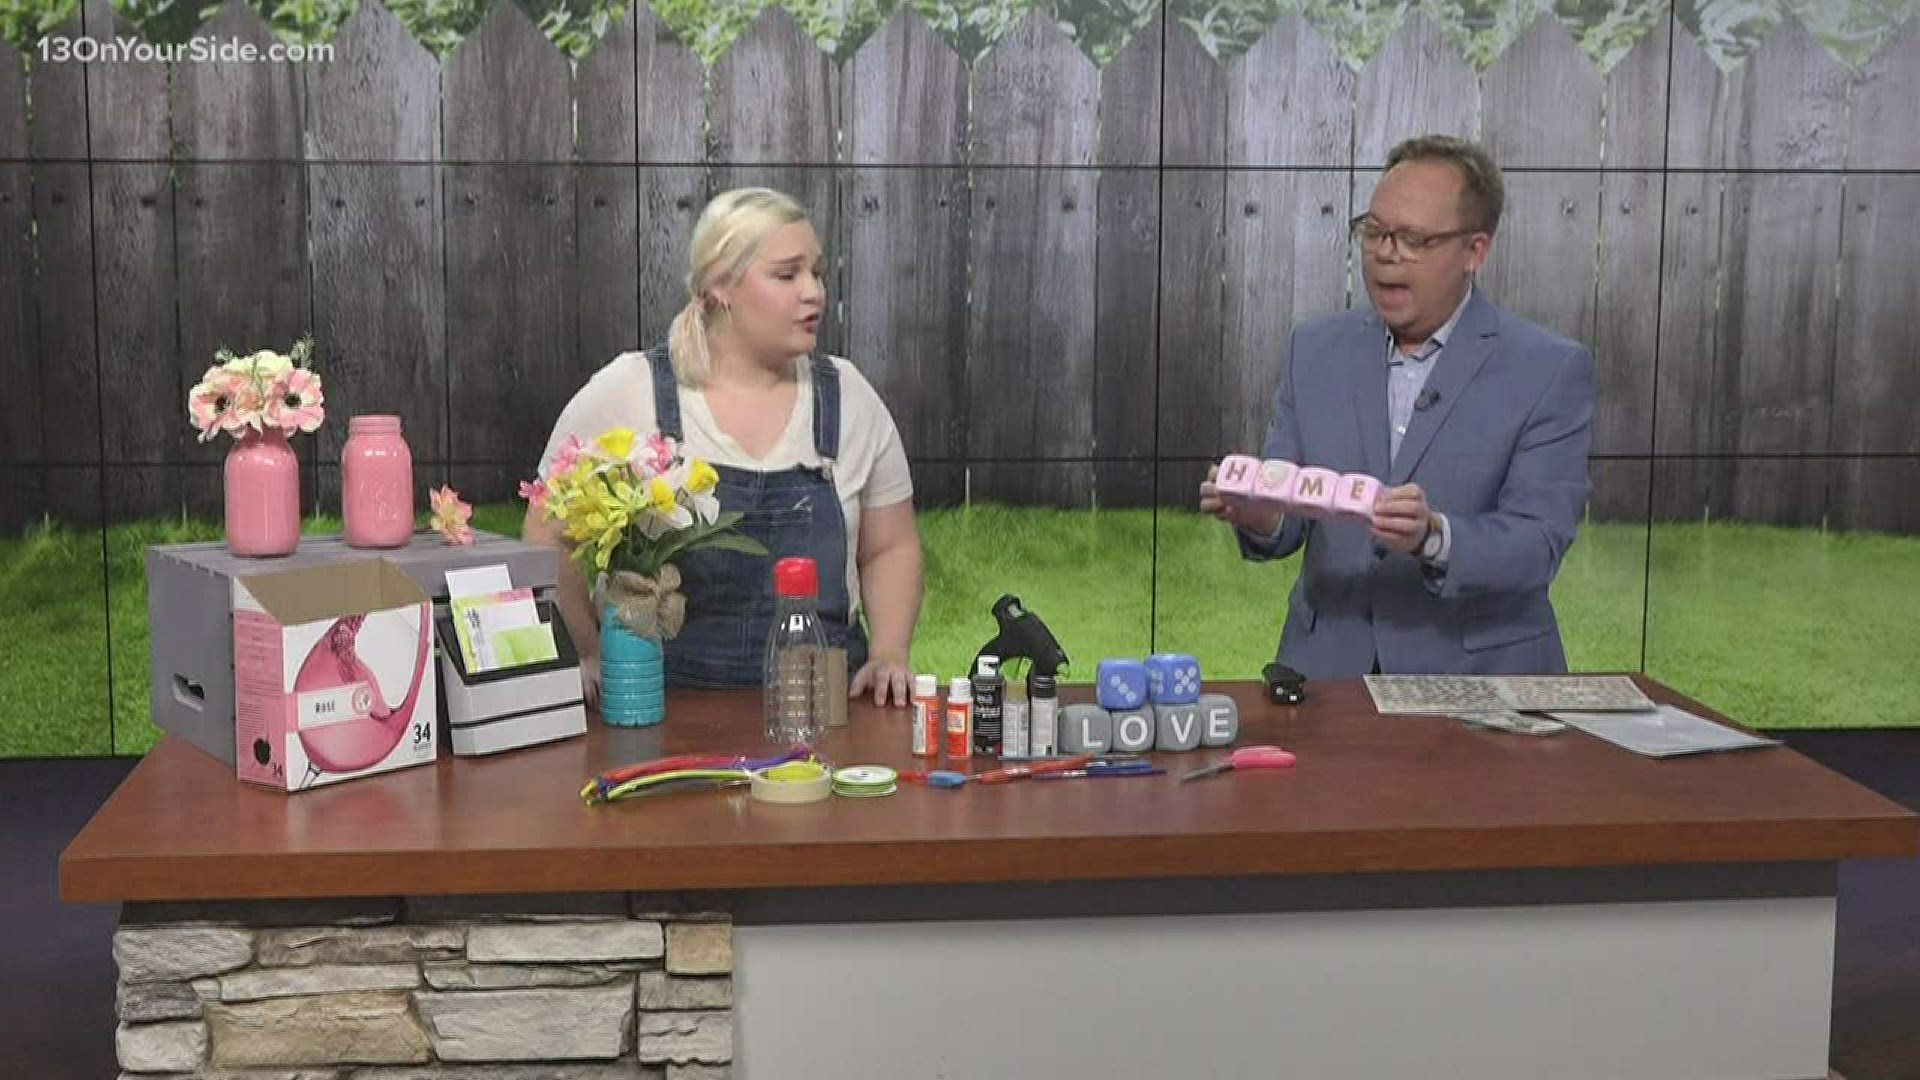
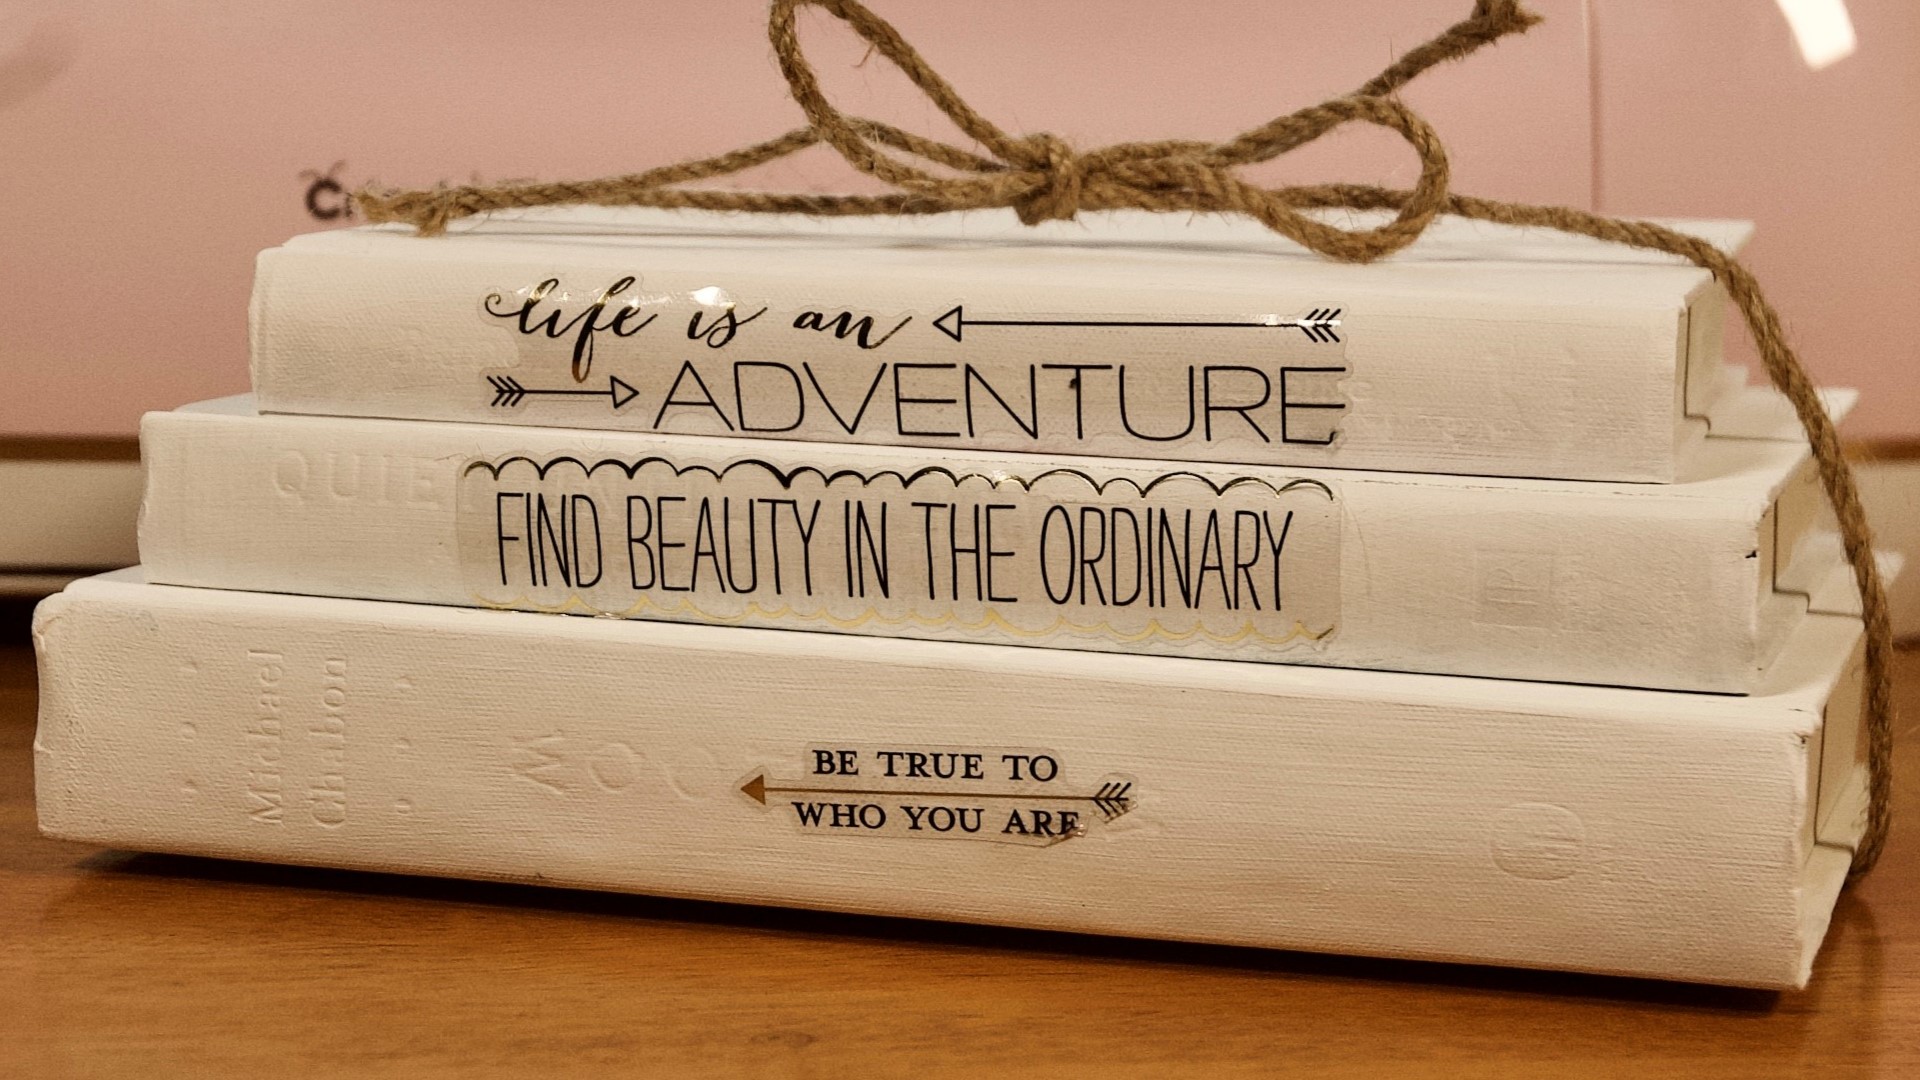
Before you take your recycling to the curb, consider giving some of those pieces a makeover and turn items into creative decor for your home.
Letter Blocks
Supplies:
- Square objects (I used some foam dice from a game. They are also available at the Dollar Tree here)
- Paint (I used acrylic)
- Paint brush
- Stickers or stencils to add letters
- Mod Podge (optional)
Instructions:
- Plan first: decide what you want your blocks to say. I chose Home and Love.
- Gather the number of squares you need and paint them any color. You may need to apply a few coats. Make sure the paint is completely dry between layers.
- Apply your letters. Make sure they are centered. If you use a stencil, carefully lift the stencil off of the letter after painting it.
- Make sure your project is completely dry before using it around the house.
Tips:
- You can use any object you want to create your squares. Consider old toy blocks, small boxes, or you can cut a piece of foam into smaller shapes.
- It is best to have your squares chosen before you get your letters set. You want to make sure the letters fit on the squares.
- If you want a glossy finish, you can use Mod Podge to seal the letters onto the block and add a shine. Since these items are decoration only, you do not have to apply a seal. But remember, the more you handle it, the more likely the paint will chip off.
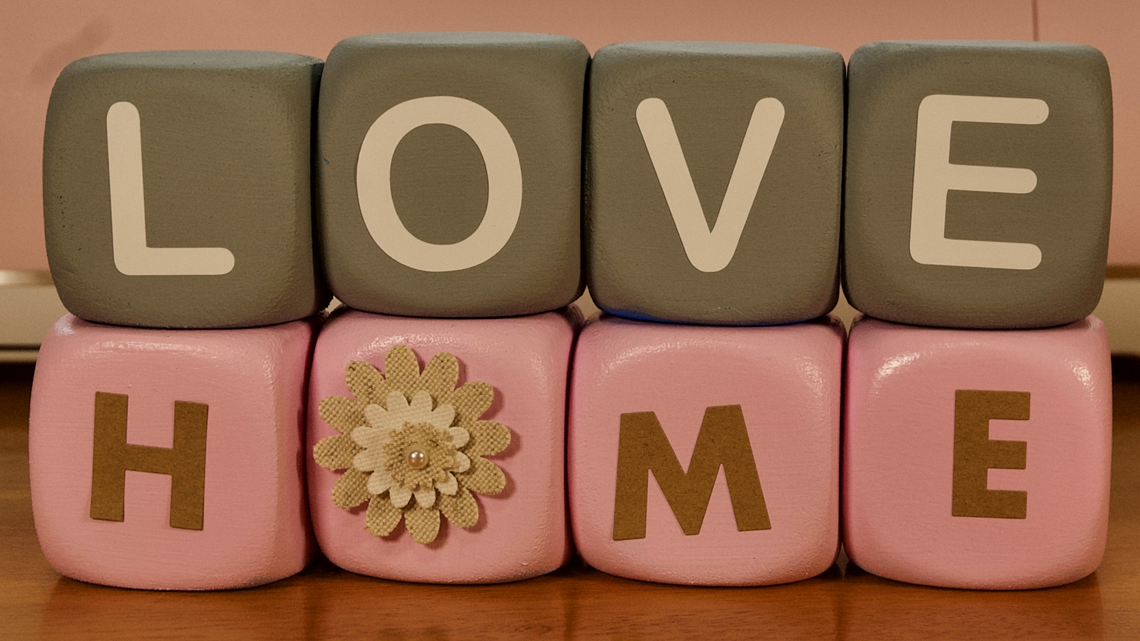
- Get creative! Use different shapes in place of letters. For example, I used a flower sticker for the O in home.

Flower Vase
Supplies:
Instructions:
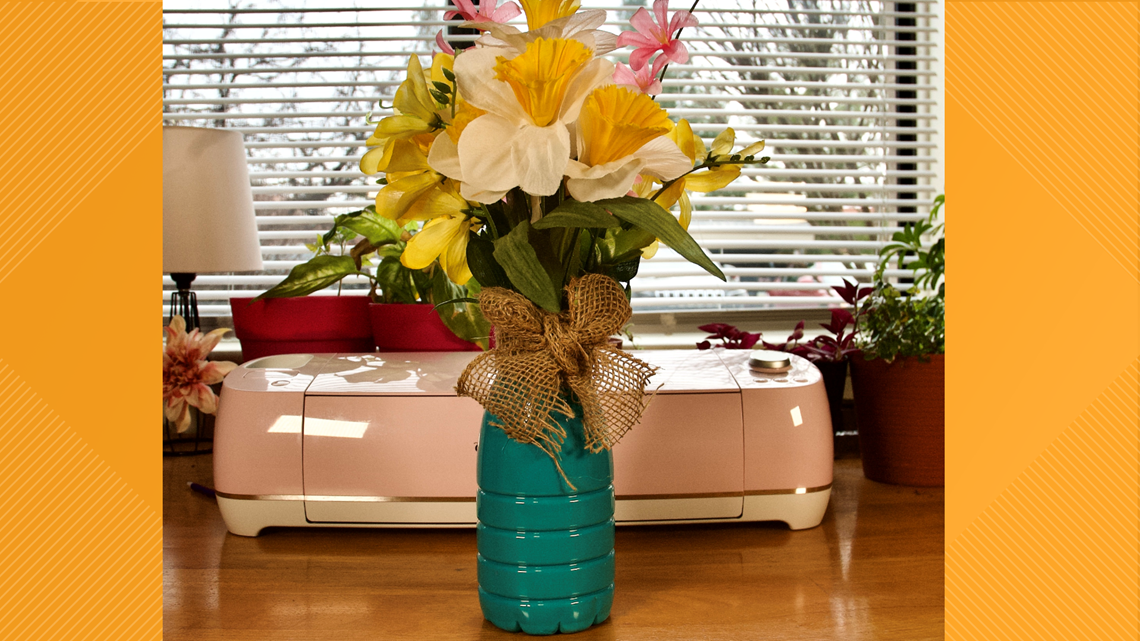
- Remove the top of the bottle and cut the opening to your desired width. I cut the top of a creamer bottle off right where the bottle starts to curve.
- Drip paint into the inside of the plastic bottle.
- Let it run down the sides and gather at the bottom. This may take some time to get the walls covered. It will take a day or two for the paint to dry completely, depending on how much you use.
- Once the paint is dry, decorate the outside of the bottle with ribbon or other embellishments. I used ribbon to cover up the jagged edges from cutting the top off.
- Add flowers or other filler.
Tips:
You can fill the bottle with anything you want. You can gather sticks from the backyard for a rustic look, or consider putting party items like small balloons on sticks inside for a birthday centerpiece.

Paper Organizer
Supplies:
- Cardboard cereal box (or wine box)
- Marker
- Ruler
- Scissors
- Decorative paper, shelf liner (contact paper) or paint
- Glue
- Ribbon or decorative tape
Instructions:
- Set your box upright, and cut off the top. This is usually the four flaps you opened to get the food inside.

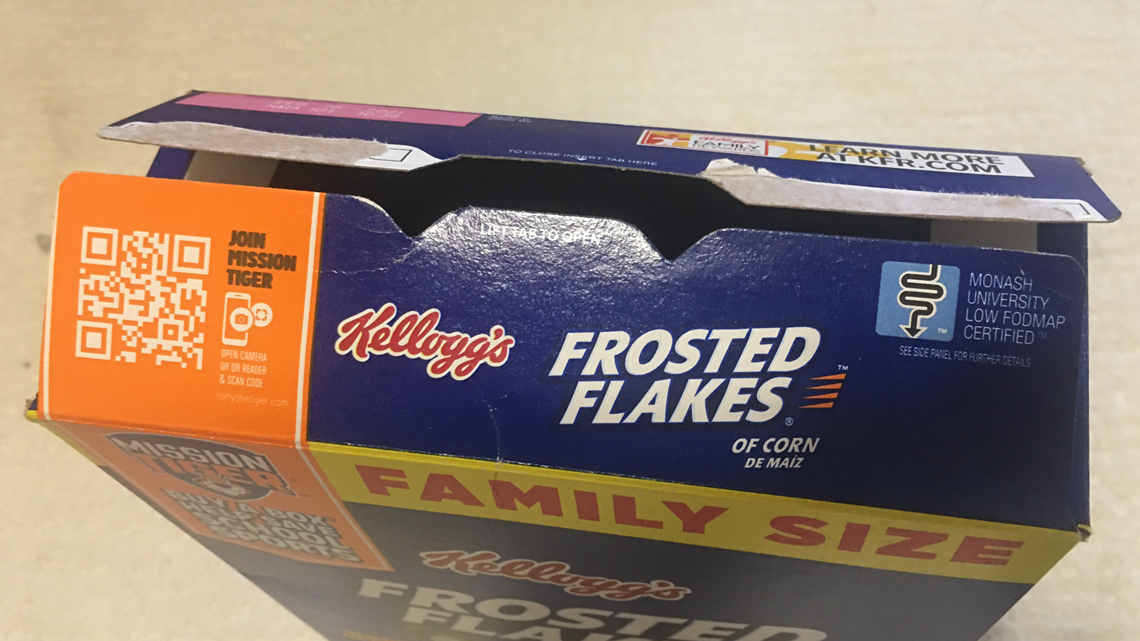
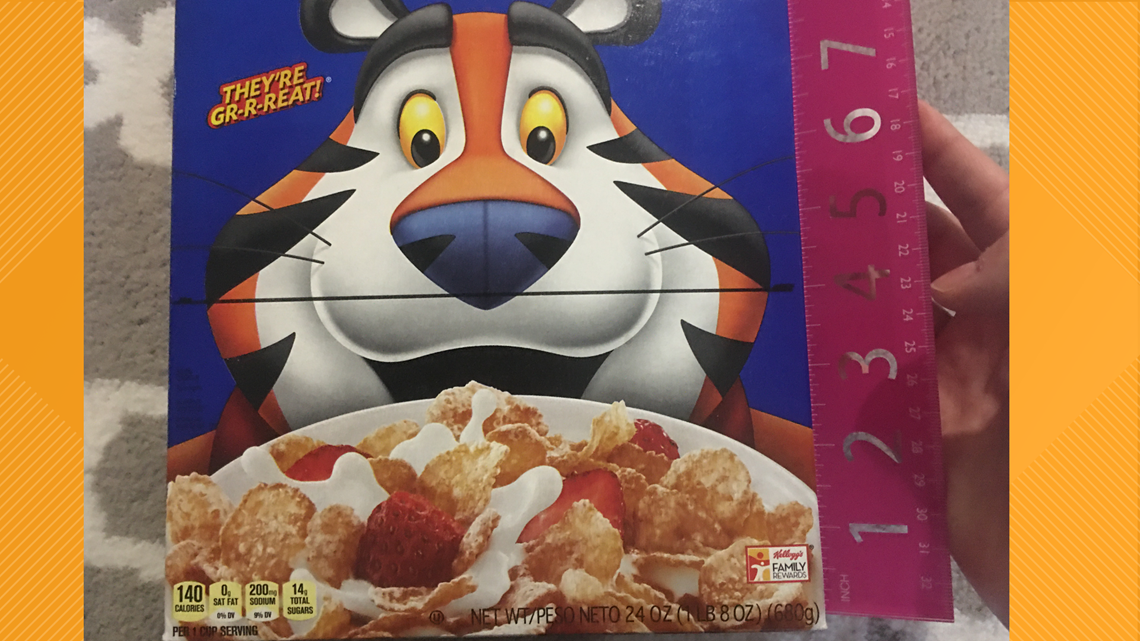
- Decide how low you want the front of your organizer to be. Measure that height from the bottom and mark it. Do the same on the other side. For example, I wanted the front of my box to be 4 inches. I measured 4 inches up from the bottom in one corner, added a dot, then measured up 4 inches on the other side.
- Connect the two dots to create a line. This is where you will cut across.

- Use your ruler to make a straight line from the top of the back side, to the top of the front side. This line is on the side of your box. Do the same to the other side.

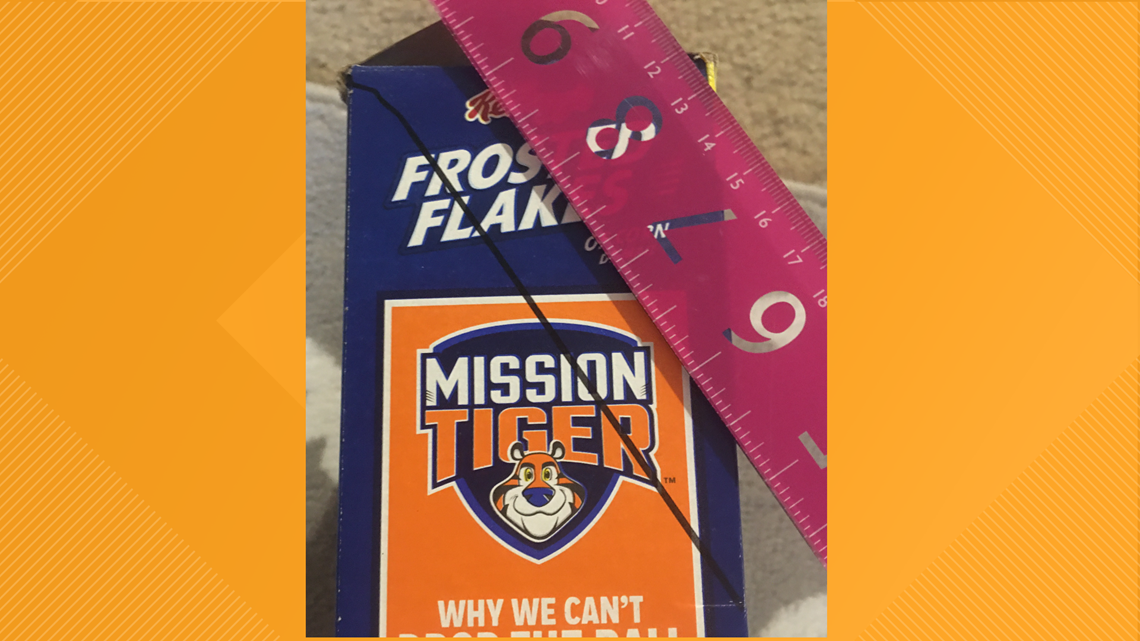
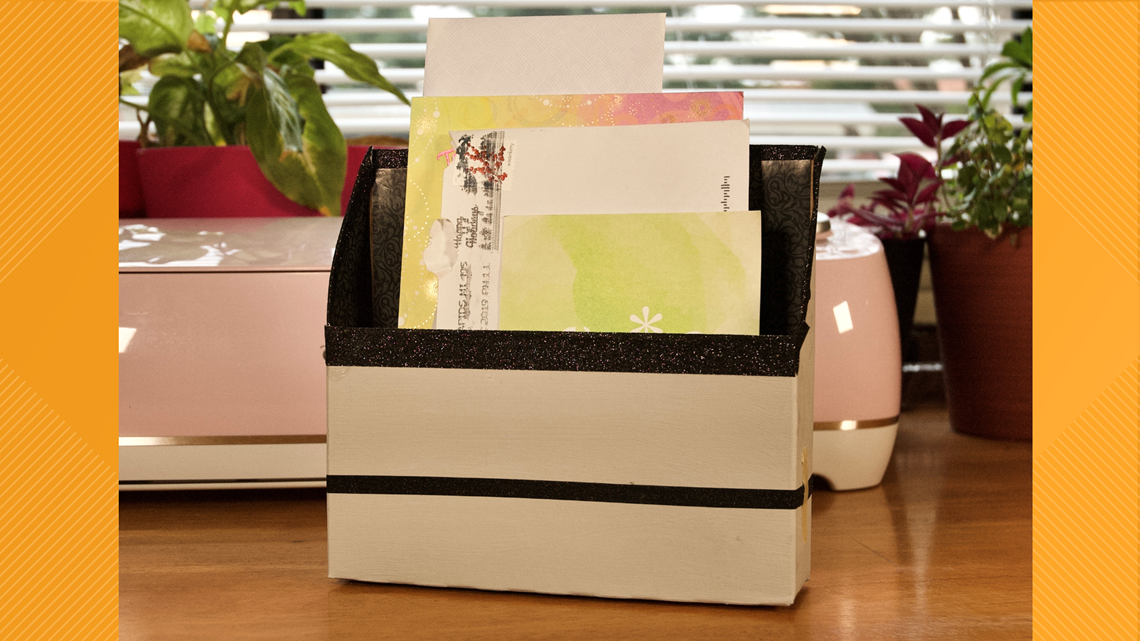
- Cut along those lines to make a diagonal from the back to the front.
- Wrap the outside of the box with paper.
- Add embellishments or decorative tape.
Tips:
- Consider what you want to put in your organizer first. This will help you determine what size box you need.
- These are great for temporary at-home work spaces! Consider attaching it to the wall for a spot to drop mail by the door, or leave notes for roommates.

More crafting & DIY ideas from Katie:
Looking for more affordable crafts? Send your ideas to ksakala@13onyourside.com
RELATED VIDEO:
►Make it easy to keep up to date with more stories like this. Download the 13 ON YOUR SIDE app now.
Love My West Michigan? Check us out on Facebook and Instagram. Subscribe to our YouTube channel.

